Buying guide
How to Build a Fire Pit
As an Amazon Associate we earn from qualifying purchases. Our picks are researched from the manufacturers’ specifications and are our own editorial opinion.
On this page
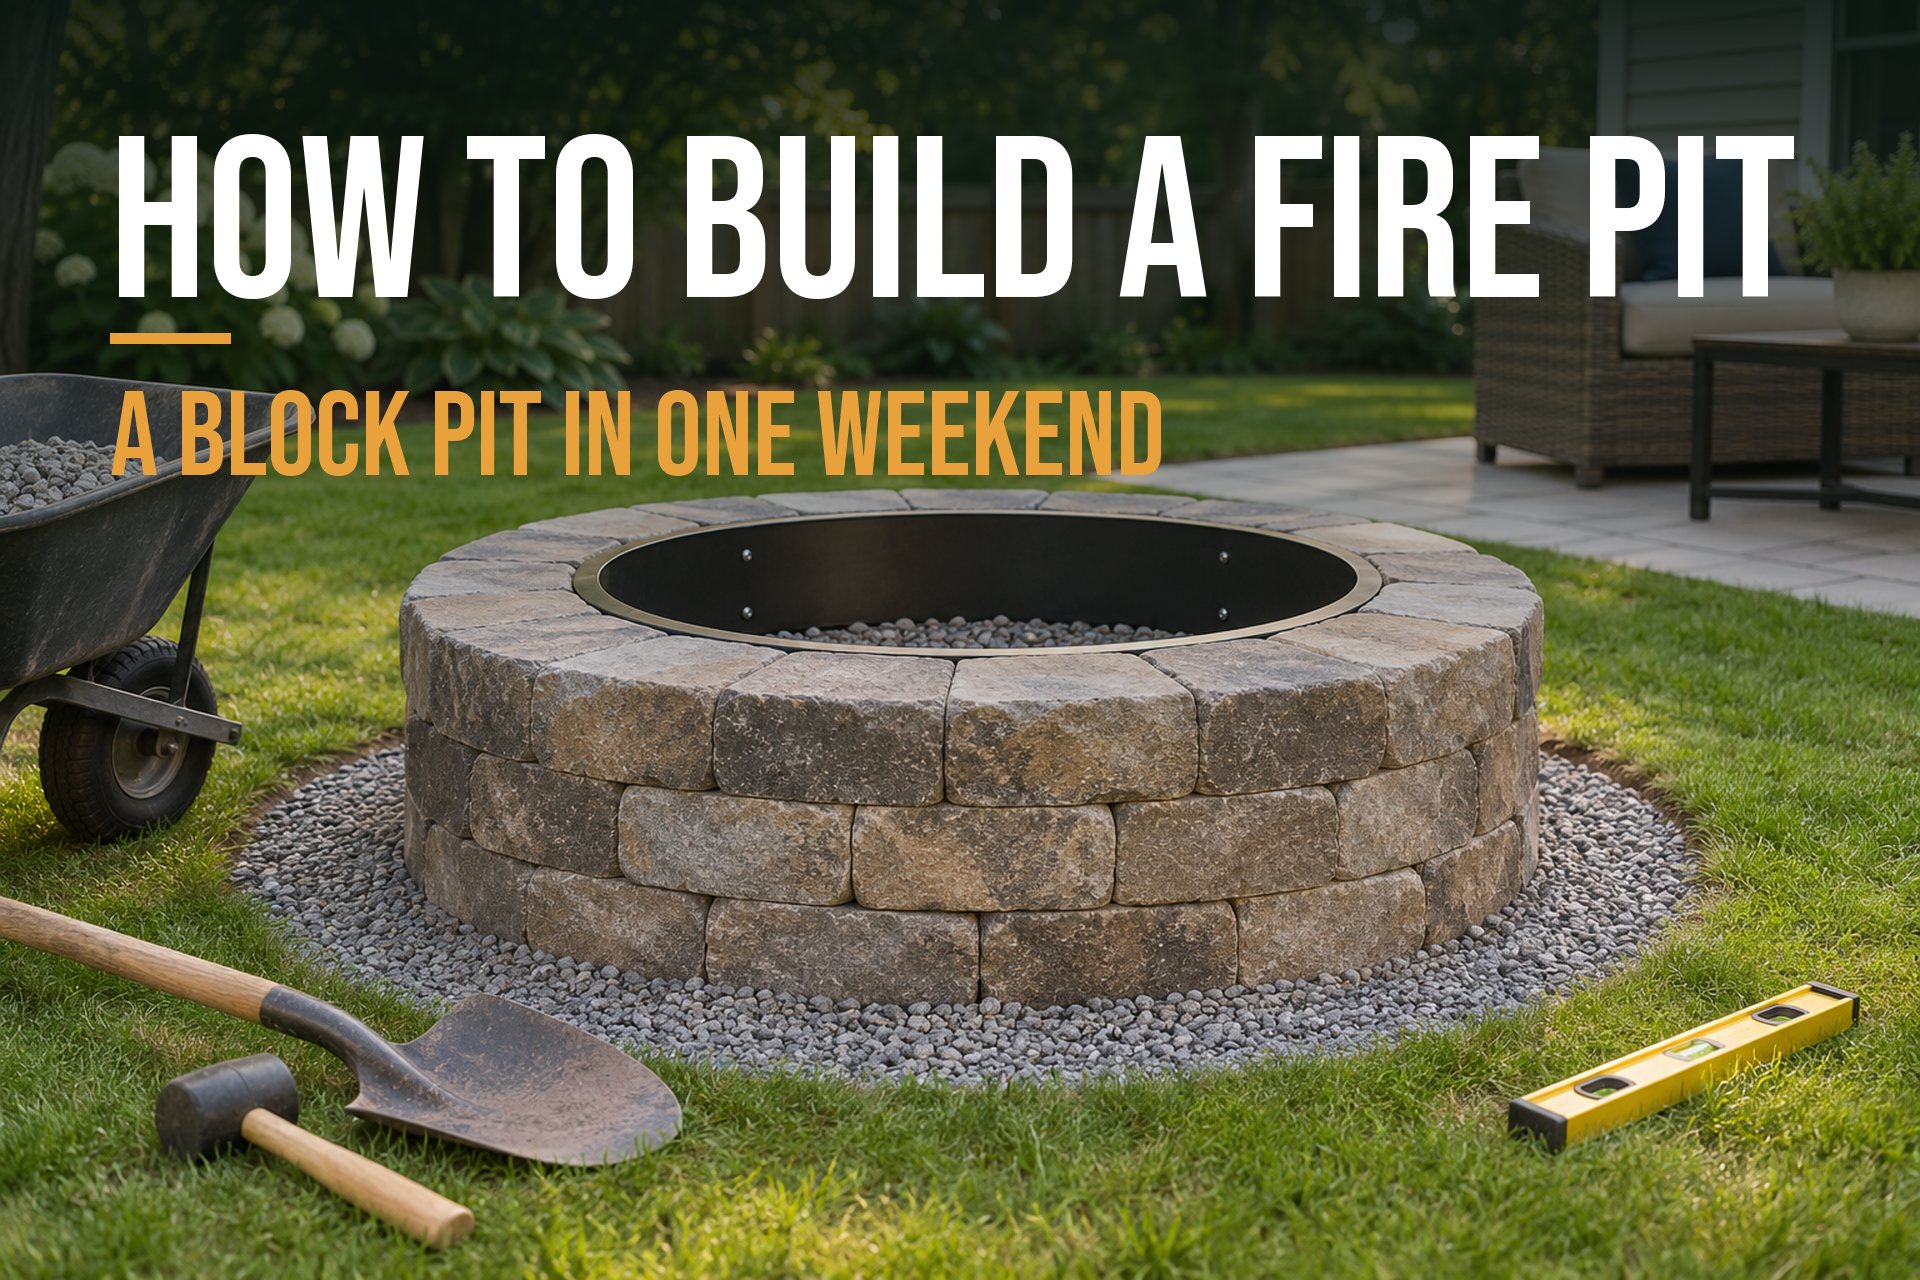
To build a fire pit, mark a circle, dig out the sod and soil, tamp down a crushed stone base, stack concrete blocks in level courses with construction adhesive and set a steel ring inside to take the heat. A block fire pit with a ring is a one weekend project with basic tools, and it is the version we walk through below. We cover the rules and spot, the materials, each step in order, what goes in the bottom, in-ground versus above-ground pits and whether building beats buying.
Before You Dig: Rules, Spot and Size
Settle three things before you buy a single block: what the rules allow, where the pit goes and how big it needs to be.
Check the Rules and Call 811
Local fire codes and homeowner association rules differ, so ask your town or fire department before you build and check your local fire code. The national 811 service tells homeowners to contact 811 by phone or online a few days before breaking ground, with the exact wait set by your state, so utilities can mark buried lines. It also advises staying clear of 18 to 24 in on all sides of the marks.
Pick the Spot
Choose level ground, away from overhanging branches and anything that burns. The distance to your house is a question of its own, and we answer it in how far a fire pit should be from a house. If your plan is a covered patio, read whether a fire pit can go under a covered patio first.
Choose the Size
The ring decides the size, so pick it first and build the block circle around it. The listings for two steel rings give a sense of range: the SoulMate 40 inch ring is 40 in outside and 36 in inside, and the Iron Forge Tools 36 inch ring has a 30 in inner ring. For the space around the pit, see how big a patio should be for a fire pit.
Materials and Tools
You buy three things: the blocks, a base material and a steel ring. Everything else is hand tools you may already own.
What to Buy
- Retaining wall or fire pit blocks: concrete units made for stacking. A fire pit kit comes with the right count, and its instructions give blocks per course, so follow them.
- Crushed stone: for the base under the blocks. Western Interlock, a hardscape installer, recommends a 3 in layer of compacted 3/4 in minus gravel.
- Construction adhesive: exterior grade, rated for masonry. Keystone Hardscapes calls for it between courses.
- A steel fire pit ring: the liner that sees the flames. See the section on rings below.
- Cap units or flat pavers: an optional finish for the top course.
Tools You Need
- Shovel and a spade for the sod
- Hand tamper for the stone base
- 4 ft level and a rubber mallet
- Tape measure, stakes and string for the circle
- Gloves, safety glasses and a masonry saw or hammer and chisel if you need to cut blocks
Which Ring to Choose
A ring protects the blocks from direct flame. Keystone Hardscapes recommends lining the inside of a fire pit with a steel shield or high strength brick or paver units to protect its blocks from direct heat damage, and says not to use fire brick as a liner. The Iron Forge listing describes a heavy duty 36 in steel ring made for permanent installs, not for portable use, and says to add a rock base, keep a 1 in gap between the ring and the wall and leave air vents at the base. The SoulMate listing describes an 8 piece kit with top ventilation holes that has no bottom, so it suggests stones or sand underneath. We compare more of them in our fire rings and liners guide.
How to Build a Block Fire Pit, Step by Step
The depths below come from one maker's published instructions for a square kit, the Keystone Hardscapes Stonegate fire pit. Your kit may differ, so treat them as a guide and follow the sheet in your box.
Step 1: Mark the Layout
Drive a stake in the center, tie a string to it and use the string as a compass to scratch the circle on the ground. Mark the circle for the outside of the block wall, not the inside. Dry fit one course of blocks around the line to check the fit and the gap for your ring before you dig.
Step 2: Dig the Hole
Remove the sod and soil inside the line to a level bottom. Keystone Hardscapes tells you to dig a hole 12 in deep with a level bottom for its kit. Dispose of the soil or use it elsewhere in the yard, and pull any roots out of the hole.
Step 3: Build the Stone Base
Add crushed stone, then level and compact it with a hand tamper. Keystone Hardscapes adds 3 in of crushed stone, tamps it, and repeats once to make a 6 in leveling pad. Western Interlock recommends a 3 in layer of compacted 3/4 in minus gravel as the foundation. A solid base keeps the circle from settling and tilting after the first winter.
Step 4: Set and Level the First Course
This course sets the quality of the whole pit. Keystone Hardscapes says the first course must be 6 in below finished grade, and that you check each unit front to back and side to side for level and adjust with sand. Take your time here: a block that is out of level now becomes a gap at the top.
Step 5: Stack the Remaining Courses
Run exterior grade construction adhesive around the top of each course, set the next course on top and stagger the joints so no vertical seam sits over another. Keystone Hardscapes alternates the layout between even and odd courses and glues each one. Check level every course. Stop when the wall is the height you want, then cap it if your design calls for caps.
Step 6: Drop in the Steel Ring
Set the ring inside the block wall. Follow the gap and vent advice from the maker of your ring, such as the 1 in gap and base vents the Iron Forge listing calls for. The ring is what takes the heat, so do not skip it. If you use a ring that has no bottom, like the SoulMate one, the listing says to put stones or sand under it.
Step 7: Fill the Bottom and Do a Safety Check
Put the bottom layer in (see the next section), keep a bucket of water or a hose within reach, and have a responsible adult watch the fire, as Palm Beach County Fire Rescue advises in Safety and Health magazine. Let the adhesive cure as its label says before the first fire, and start with a small one.
What to Put in the Bottom of a Fire Pit
The base under the blocks and the fill inside the pit are different jobs, and the advice for each is different.
Under the Blocks
That is compacted crushed stone, as described above. It is the layer that keeps the pit level.
Inside the Pit
For casual fires, Western Interlock says the gravel base alone is enough. If you burn often or hot, it suggests a heat buffer inside the ring: lava rock 2 to 4 in deep or fire rated sand 1 to 2 in deep, and it calls a steel insert optional, though Keystone Hardscapes wants a liner for its blocks.
What to Avoid
Skip river rock and other porous stone. Hunker explains that rocks which trap water or air can burst when heated, listing limestone, sandstone, slate, pumice, shale, river rocks, pea gravel and basalt, and says wet rocks are more likely to explode than dry ones. It suggests dense stones such as granite, marble or quartzite instead. Keep the pit covered between fires, and wait after rain before you light it.
In-Ground vs Above-Ground Fire Pits
The block pit above sits mostly above ground, with the first course set below grade. A pit sunk into the ground is the other common design.
Above-Ground Block Pits
They are easy to sit around, easy to reach and easy to cover, and the wall gives you a place to rest a drink. They also need the most material, since you build the walls, and they are what this guide covers.
In-Ground Pits
An in-ground pit puts the fire below the surface, with a ring set into the hole. It uses fewer blocks, but you dig more, so the 811 call matters even more. Burying a ring is what the SoulMate listing describes: bury the bottom and surround it with soil.
What About a Cowboy Pit?
We did not find a manufacturer definition of this term. In the retail listings we looked at, the name is used for portable cooking fire pits, and people also use it for a simple pit dug in the ground. It is not a block build, so look at the spec of whatever you are buying.
Is It Cheaper to Build or Buy a Fire Pit?
It depends on the design, and we will not quote one price that suits every yard. Building costs you the blocks, base stone, adhesive and a steel ring, and a weekend of work. Buying costs you the pit, and nothing else if it is a freestanding steel one.
When Building Wins
Building makes sense when you want a permanent circle, a particular size or a pit that matches your patio. A heavy ring such as the Iron Forge Tools ring is made for that kind of permanent install.
When Buying Wins
A ready made pit suits you if you rent, want to move it or want to be burning this weekend. Start with our fire pit reviews and the cheap fire pits roundup, where the picks run from budget to premium. If you want ideas for the look, see our fire pit ideas. Planning a paved seating area around it? Our guide to building a paver patio covers the base and joints.
❓ Frequently Asked Questions
Keep reading: fire pit ideas, how far a fire pit should be from a house, how big a patio should be for a fire pit, fire rings and liners and how to build a paver patio.